Installation Instructions
Preparations
- Check that the requirements are met.
Lime CRM
- Make sure that LIP is installed in order to easily install the add-on. If LIP is not installed, you need to manually add all tables and fields and use the file import for the localizations.
For All On-Premise ERP Systems
This applies to Microsoft Dynamics NAV, Visma Business and Visma Administration.
- Make sure that Syncify can get access to the server where the Syncify service should be installed (typically on the ERP server).
Visma Administration
- Make sure that you know which Visma database (which Visma company) the customer is using and the path to this on the server. Default path is usually
C:\ProgramData\SPCS\SPCS Administration\Företag\XXX.
Microsoft Dynamics NAV
- Make sure that you have the domain and WebServiceURL for Microsoft Dynamics NAV at hand.
Fortnox
- Get the API key for the Lime CRM integration in Fortnox.
Installation in Lime CRM
This section describes what needs to be done in Lime CRM to set up the integration.
LIP Package
- Install the LIP package either by running
lip.Install "erpconnector"in the Immediate Window in the VBA editor or by downloading the LIP zip file for the latest release from Lime Store and runlip.InstallFromZip.
Lime Bootstrap App and Actionpad
These steps can be skipped if you will not use the ERP Connector from the Lime CRM Desktop Client.
- Copy the
addon_erpconnectorfolder in the apps catalog to the subfolderappsin the Actionpad folder. - In the
companyActionpad:- Add the link to Copy postal address to invoice address:
<li data-bind="vba:'AO_ERPConnector.copyPostalToInvoiceAddress,' + lbs.activeInspector.ID, text:localize.addon_erpconnector.copypostaltoinvoiceaddress, icon:'fa-files-o'"></li>. - Add the instantiation of the app to the company Actionpad (as shown below).
- Add the link to Copy postal address to invoice address:
- Publish the Actionpads.
<div data-app="{
    app: 'addon_erpconnector',
    config: {
        groups: [
            'Users'
        ]
    }
}"></div>
VBA
These steps can be skipped if you will not use the ERP Connector from the Lime CRM Desktop Client.
- If a class module ControlsHandlerCompany does not exist: add this (in Lime Core there is a
ControlsHandlerTemplatethat you can use). OBS! Don't forget to add this toGeneralControlsHandleras well. - Add the code marked with
ERP CONNECTOR GRAPH STARTinControlsHandlerCompany.Setup.txt(found in the LIP package in thevbafolder) toControlsHandlerCompany. - Set the credentials in the consts at the top of the
AO_ERPConnectormodule. If you do not have them at this moment, it is fine to do this step later.- If on-premise ERP system: Set the constant
m_localErpUrlto the url to the server where the Syncify service is installed. It should be on the formathttp://erpserver:8080/api/customer. - If cloud ERP system: Set the constants
m_accessKeyandm_secretKeyaccording to internal Lime Technologies documentation andm_clientIdaccording to what Syncify has given you.
- If on-premise ERP system: Set the constant
- Set the VBA Const for which ERP System the integration is running towards. See the configuration documentation for valid strings to use.
- Compile the VBA and make sure you do not get any errors.
- Save the VBA.
LISA
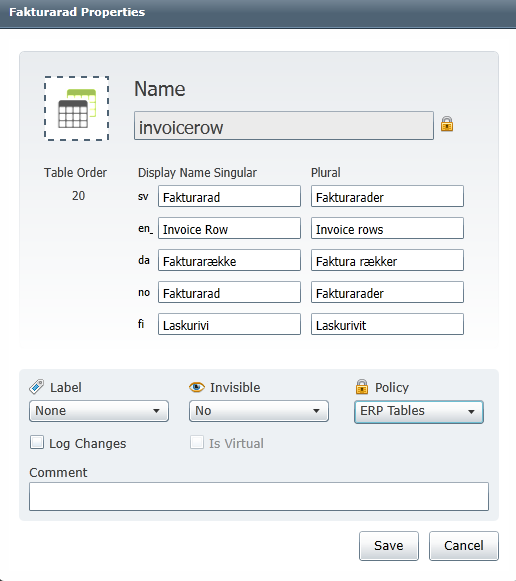
- Only valid if Lime CRM Desktop Client: Add the icons for the tables
invoiceandinvoicerow. The icons are found in the folderlisa\iconsin the LIP package. If you cannot find the tables in LISA, refresh the browser. - Only valid if Lime CRM Desktop Client: Add descriptive expressions for
invoiceandinvoicerow. The descriptive expressions are found in text files in the folderlisa\descriptives. - Only valid if Lime CRM Desktop Client: Set the
SQL expressionproperty on the fieldcompany.erp_turnover_lastyeartodateaccording to the text file in the folderlisa\sql_expressions. If the customer is using an ERP system where the turnover figures are based on the Financial Year (see How It Works) and uses a broken Financial Year, you need to change the SQL code and specify the date of the first day of the new Financial Year as'-MM-DD'in two places, as shown below. For example, April 1st would be'-04-01'. The default is set to'-01-01'.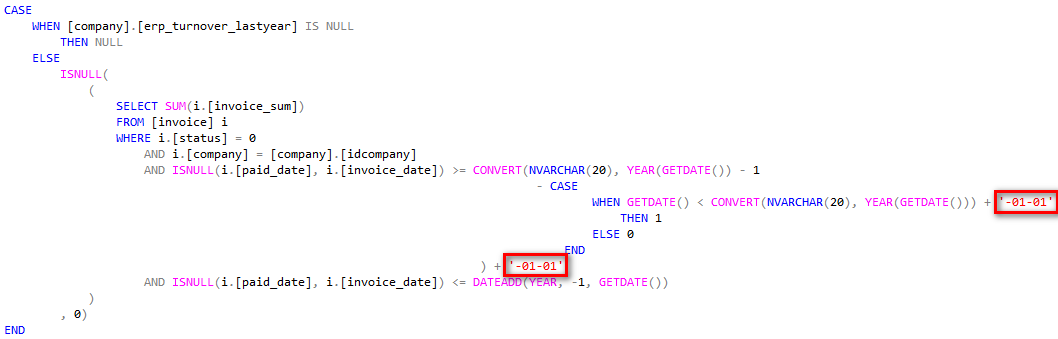
- Set the
SQL for updateproperty on the fieldcompany.fullinvoiceaddressaccording to the text file in the folderlisa\sql_on_update. - For all ERP systems except Visma Administration: Set the
SQL for updateproperty on the fieldcompany.erp_turnover_yearnowaccording to the text file in the folderlisa\sql_on_update. - For all ERP systems except Visma Administration: Set the
SQL for updateproperty on the fieldcompany.erp_turnover_lastyearaccording to the text file in the folderlisa\sql_on_update. - Set the
SQL for updateproperty on the fieldinvoice.customeridaccording to the text file in the folderlisa\sql_on_update. - Create a group
ERP Connector. - Add two users:
erpmigration: This user will run the migration from the ERP system and should be of Type = Integration. It will also be used by Syncify to log in to the Lime CRM client to look at the data during and right after the migration. Add the user to the groupsSuperusersandERP Connector. Provide Syncify with the username and password. Create a coworker card for the user so it can be used to log into a Lime CRM client.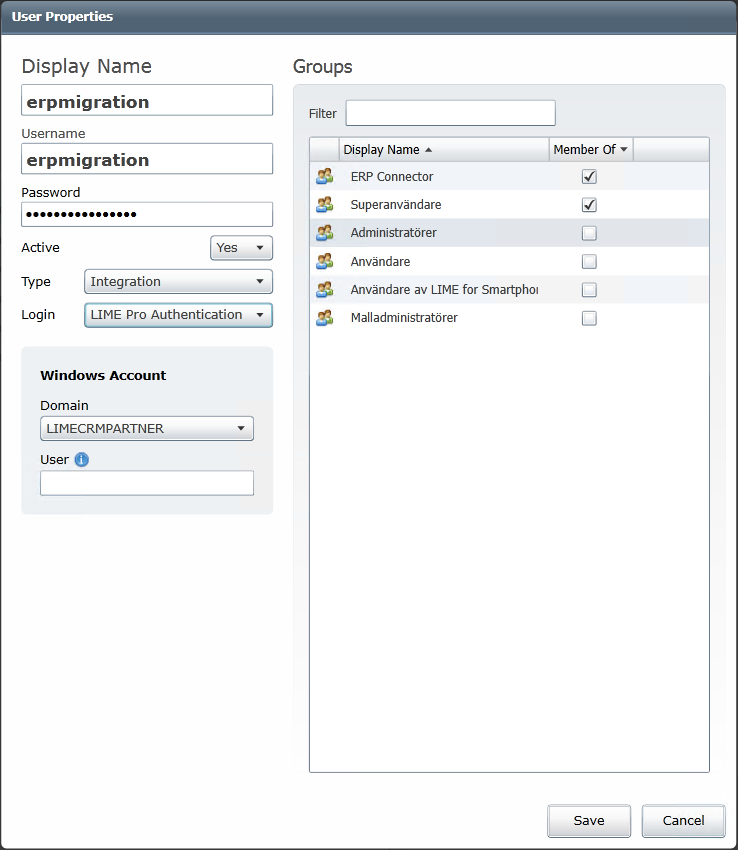
erpsync: This user will run the continuous sync from the ERP system to Lime CRM and should be of Type = API. Add the user to the groupsSuperusersandERP Connector.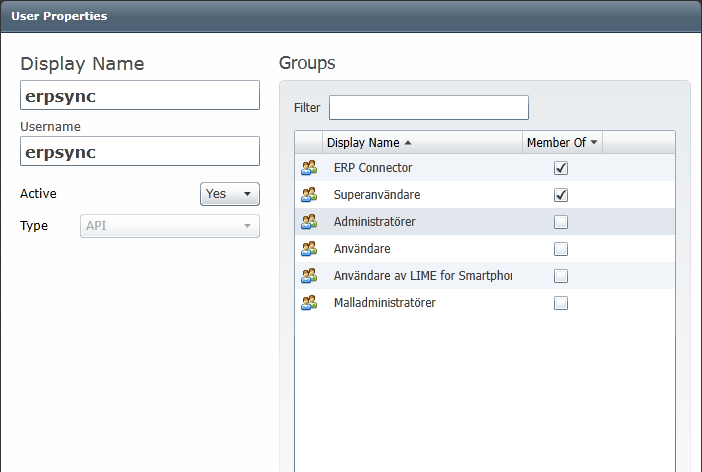
- Generate an API key for the
erpsyncuser. Provide Syncify with the API key. - Create a security policy
tbl_erp. Give the groupERP Connectorfull rights. Give the groupUsersread access.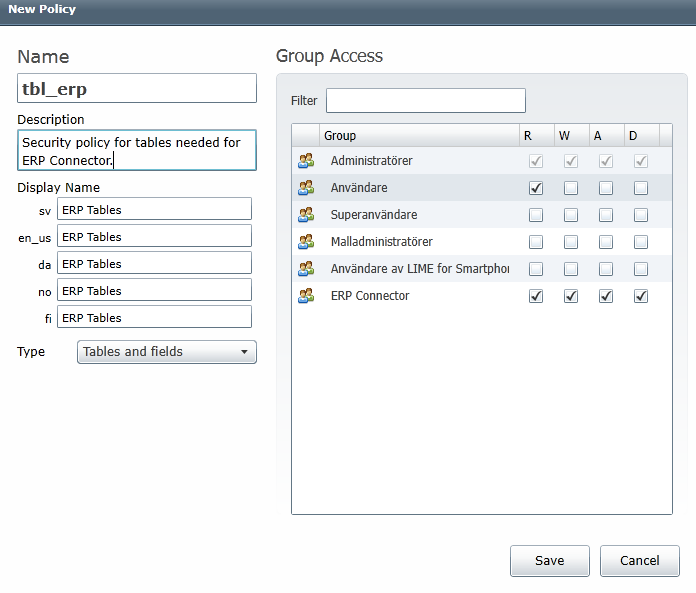
- Add the security policy to the
invoiceandinvoicerowtables.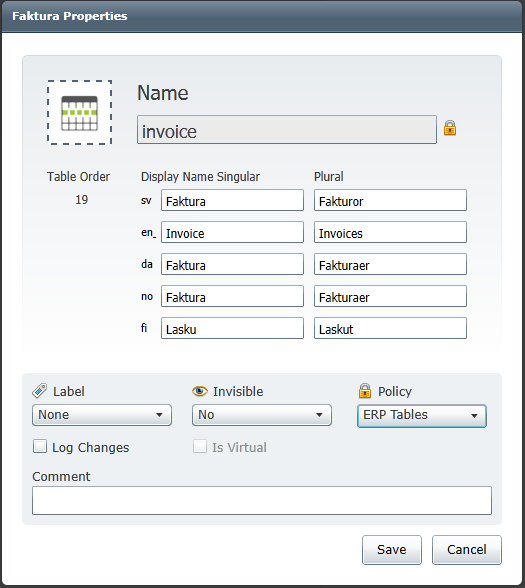
Web Client
These steps can be skipped if you will not use the ERP Connector from the Lime CRM Web Client.
-
Add
limepkg-erp-connectoras a depency in your solution'spyproject.tomlfile. If you run this on-premise with Lime CRM server version 2020.2 or later: Copy and run the below poetry command to add the python dependency to the solution. Restart of the Lime CRM server is required afterwards.poetry add limepkg-erp-connector -
Build and deploy your solution.
- Configure the add-on in Lime Admin.
Conclusion of Installation in Lime CRM
- After the migration has been made, revised and approved by the customer: set the user
erpmigrationto inactive in LISA.
Installation of Syncify Service
This is managed by Syncify. Both for on-premise and cloud ERP systems.